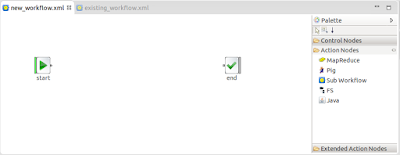
Inserting nodes in the workflow area:
- Open the palette
- Select the node you would like to insert by clicking on it
- Click on an empty space on the workflow area to insert the node
Connecting two nodes:
- From the palette, select the "Connection" tool
- Determine the source node and the required output terminal; hovering over terminals, a tooltip would be displayed showing the terminal name
- Click on the source terminal. If a connection is possible to start from the clicked on terminal, you will notice a line beginning from the source terminal and following your mouse moves
- Determine the target node and the required target terminal
- Click on the target terminal. If a connection is possible to end at the target terminal, the connection would be created and you will notice that the line end becomes an arrow head
Reconnecting a connection (changing connection endpoints):
- Click on "Select" tool from the palette
- Click on the connection you would like to re-connect. Two square handles show up one on each endpoint of the connection
- Click and drag the handle at the endpoint you would to change
- Drop the connection endpoint at the new terminal
Deleting nodes:
- Click on "Select" tool from the palette
- Click on the node you want to delete
- Press the <delete> key
Deleting connections:
- Click on "Select" tool from the palette
- Click on the connection you want to delete
- Press the <delete> key
Editing properties:
You can edit properties of:
- workflow
- node
- a connection coming out from a "case" terminal of a "decision" node
- Open the "Properties" view
- Click on the item for which you want to add/change properties
- For the workflow, click anywhere in the empty workflow area
- For a node, click on the node
- For a connection, click on the connection
- In the "Properties" view, find the required property, edit it and press <Enter>
- A complex property has an arrow on the left of its name. You can expand (or collapse) the property by clicking on the arrow


